
You are busy tackling your business accounting by setting up QuickBooks, but suddenly an error code like Error 1603 pops up and freezes the installation. It is frustrating when software refuses to install, but you don’t need to worry or be an IT expert to fix it. Most QuickBooks setup glitches happen because minor background Windows components get out of sync. For such cases, Intuit created the QuickBooks Install Diagnostic Tool. It can be said as an automated technician that scans the computer, finds the root cause of the installation failure and repairs it automatically.
In this detailed handbook, we have a look at exactly how to download, install and run this free tool so you can get back to business without the tech headaches.
The QuickBooks Install Diagnostic Tool is a free tool made to diagnose and repair issues that occur during the installation of QuickBooks Desktop software. Installing QuickBooks involves dependency on core Microsoft Windows components to handle data encoding, run application frameworks and manage database services.
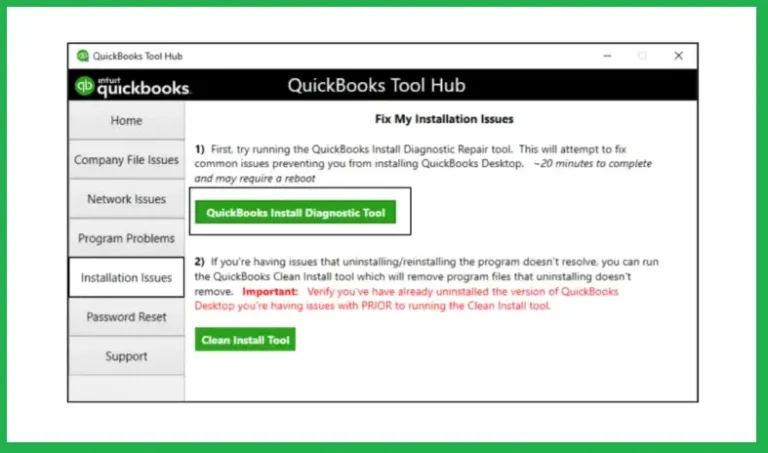
When any of these Windows components are corrupted, outdated or missing, the QuickBooks installer will fail. In such cases, the QB install diagnostic tool acts as an automated repairperson. It scans your operating system, identifies flaws in the supporting infrastructure and automatically repairs them so your QuickBooks installation can proceed smoothly.
The tool is helpful at resolving installation errors triggered by damaged core components. Some of the most common error codes it troubleshoots include:
Intuit has integrated this utility into the Tool Hub, the best way to get it is by downloading the updated QuickBooks Tool Hub. Follow these steps to prepare your system and complete the installation.
Ensure that your computer is compatible with the requirements for the tool to work properly before proceeding with the download:
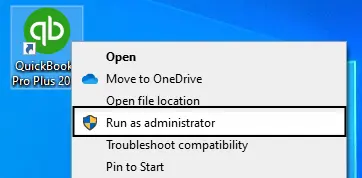
Once you have installed the Tool Hub, running the diagnostic check takes only a few clicks. Here is the process to run the repair tool:
Double click the QuickBooks Tool Hub icon on the desktop. If the Windows User Account Control gives a prompt for permission to make changes, click Yes.
On the left-hand sidebar of the Tool Hub main menu, look for the tab labeled Installation Issues and click it.
Inside the Installation Issues menu, click the button labeled QuickBooks Install Diagnostic Tool.
A command prompt window along with a progress bar will appear. The diagnostic tool will automatically scan the system components.
Note: This process can take anywhere from 10 to 25 minutes depending on your computer’s speed and the extent of the damage. Do not close the window while the tool is running.
Once the tool finishes its processes, a message will appear on the screen showing whether the repairs were successful. Close the tool, save any open work and restart your computer. After your system reboots, attempt to install or open your QuickBooks Desktop application again.
Sometimes, the very tool meant to fix your system can run into installation issues itself. In case you run into problems while trying to install or open the QuickBooks Tool Hub, follow these methods and steps to clear the obstacles.
Windows Defender SmartScreen or third-party antivirus suites can occasionally misidentify the Tool Hub as malicious software.
If the tool crashes instantly during setup, your Windows .NET framework might be severely corrupted.
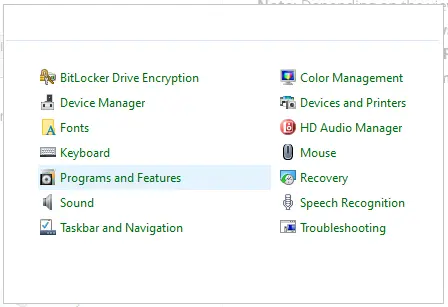
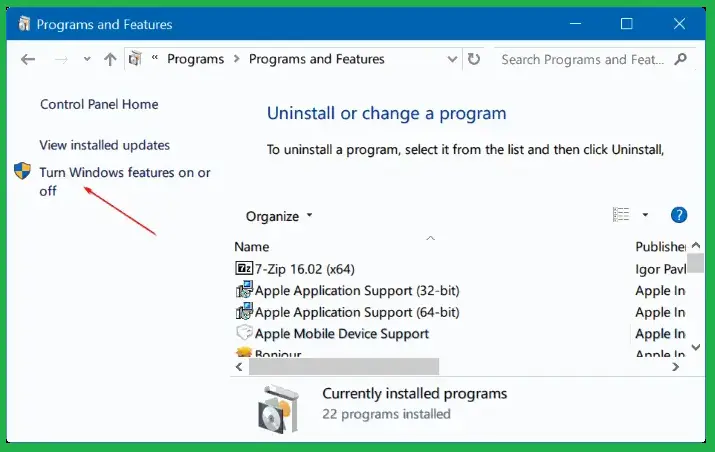
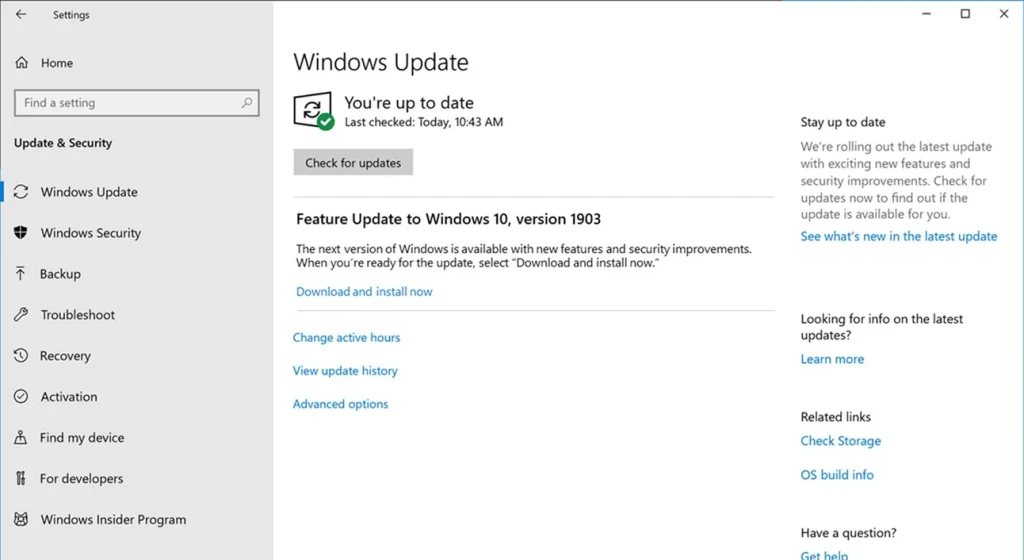
If you receive an error saying the “Windows Installer Service could not be accessed,” the service may be stuck.
While the Install Diagnostic Tool fixes the vast majority of setup issues, some errors sometimes require additional measures. If the tool does not resolve your problem, try these best tips:
Installation errors can be stressful, but with a little patience and the right solutions, these can be permanently fixed. Most of the time, they are simply the result of standard Windows framework components falling out of sync. The QuickBooks Install Diagnostic Tool removes the gap between automating complex registry and component repairs so you do not have to mess around with manual coding or technical configurations.
If you need any help regarding the QuickBooks Install Diagnostic Tool, contact our Data Service Team support team at +1(888)-718-7888 today for smooth installation.
Close all open applications, save all open documents and make sure that you are logged on to the Windows Operating System as an Administrator. It will be best if your internet connection is turned on because it will download the latest updates from Microsoft Corporation.
The tool functions by diagnosing any problem in the core elements of the Windows environment. It automatically detects problems with your Microsoft .NET Framework, MSXML Files, and C++ Redistributables.
Yes, the modern QuickBooks Tool Hub and its built-in Install Diagnostic Tool are fully compatible and safe to use on 64-bit versions of Windows 11, provided you run the application with administrative permissions.
If the tool appears to freeze, wait at least 20 to 25 minutes, as repairing deep system components can take significant time. If it remains completely frozen past that window, close the tool using Windows Task Manager, restart your PC, perform a Windows update and attempt to run the tool again.
Yes. Errors 1603 and 1935 are almost always caused by a broken or locked Microsoft .NET Framework installation. The Install Diagnostic Tool is programmed to fix these framework issues. This makes it the most useful automated solution for these two specific error codes.

Get Free Consultation for QuickBooks Upgrade
(2021, 2022, 2023)