
Some QuickBooks errors don’t go away with a simple reinstall. Corrupted residual files, broken registry entries, and damaged QuickBooks installation folders can linger on your system even after you remove the program and that means the same problems come right back. The QuickBooks Clean Install Tool is built specifically for these situations. It clears out what a normal uninstall misses and sets up a genuinely fresh environment before you reinstall. This guide covers everything you need to know to do it right, from prep to completion.
The QuickBooks Clean Install Tool is a free utility built into QuickBooks Tool Hub by Intuit. It’s designed to handle cases where standard reinstallation hasn’t fixed the issue which happens more often than you’d expect.
Here’s the core mechanic, when you uninstall QuickBooks the regular way, it leaves behind certain QuickBooks installation folders, cache files, and program components on your system. When you reinstall, QuickBooks tries to work with those leftover pieces and if any of them are corrupted, you end up with the same errors as before.
The Intuit QuickBooks clean install tool solves this by automatically renaming those leftover folders (adding a .old extension) before you reinstall. Once renamed, QuickBooks can’t find or use them, so it creates completely new folders and files from scratch during installation. That’s what makes it a clean install there’s no connection to the previous damaged installation.
This is also sometimes called a clean uninstall because the process involves fully removing the old installation before starting fresh.
Not every QuickBooks problem calls for a clean install. It’s more involved than a quick repair, so it’s worth knowing exactly when to reach for the clean install QuickBooks tool.
The clean install tool for QuickBooks is a last resort for program-level problems. It won’t touch your company file data, but it does completely remove and rebuild the program layer.
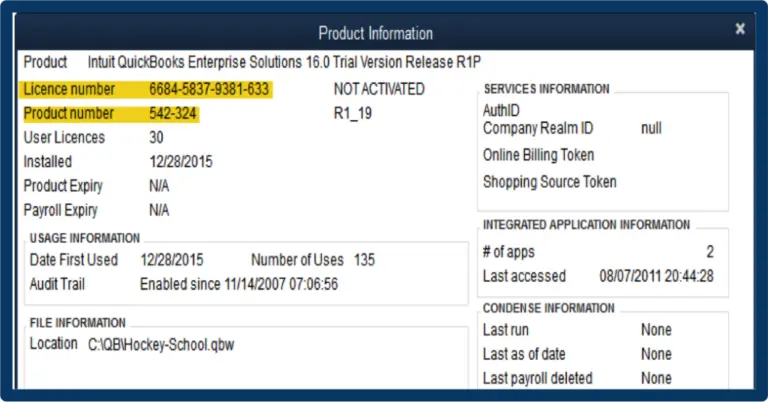
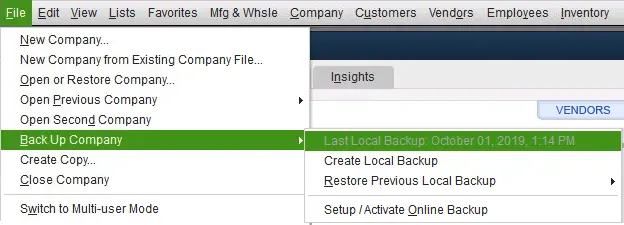
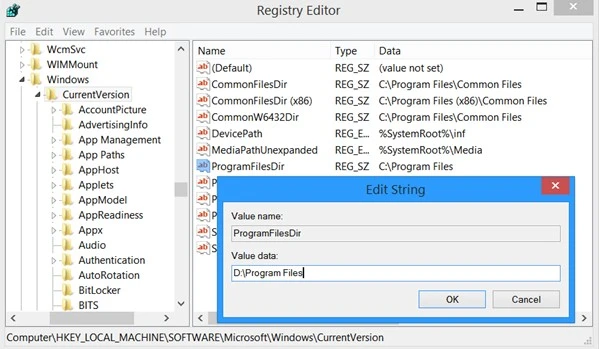
Running the QuickBooks Clean Install Tool without prepping first is how people run into trouble. Here’s what you need to do before anything else:
The QuickBooks clean install tool download is accessed through QuickBooks Tool Hub, it’s not a standalone download. Tool Hub is the container that houses it. Here’s how to get it:
Only use Intuit’s official site for the QuickBooks clean install tool download, third-party sites offering the same file can bundle it with unwanted programs.
Once you have QuickBooksToolHub.exe saved, installation is quick. To properly download and run the QuickBooks clean install tool, you need Tool Hub installed first:
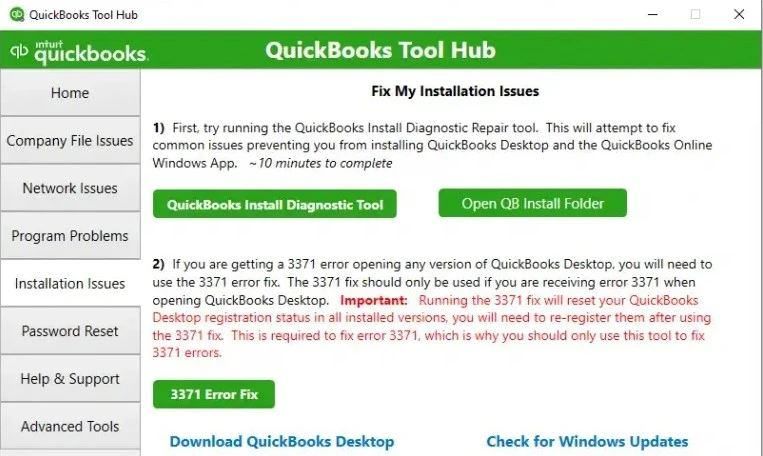
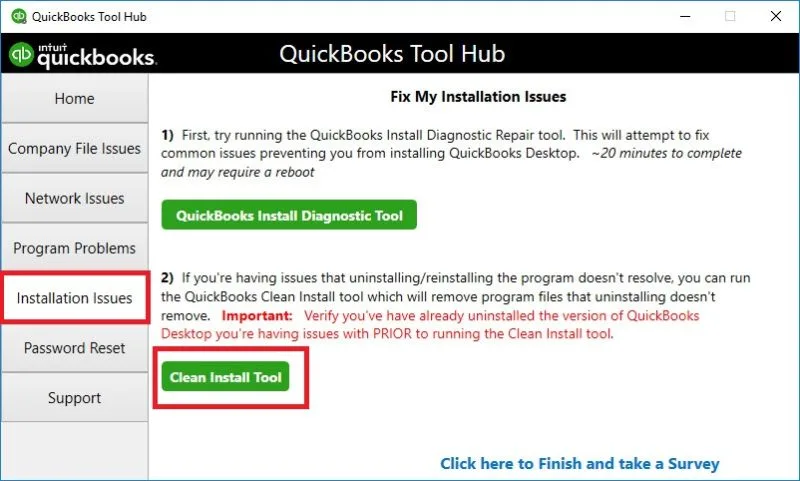
This is the main step. Once Tool Hub is open, here’s exactly how to use the clean install tool for QuickBooks to rename your installation folders:
Note: If you receive a message stating “Access Denied” when the tool tries to rename a folder, it usually means QuickBooks or a related process is still running. Press Ctrl + Shift + Esc, which will open Task Manager, then go to Processes tab, and end any processes named QBW32.exe, QBDBMgr.exe, or QBCFMonitorService.exe. Then try the tool again.
With the old folders renamed and your system restarted, you’re ready to reinstall. Here’s how to do it:
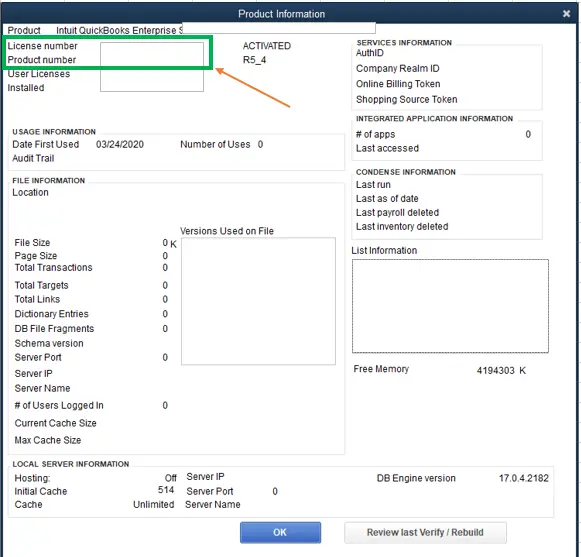
After reinstalling, restore your company file by going to File → Open or Restore Company → Restore a backup copy and selecting the backup you made earlier.
| Error / Issue | Category | Does Clean Install Fix It? |
| Error 1402 | Installation (registry permissions) | Yes |
| Error 1603 | Installation failure | Yes |
| Error 1904 | Installation: .dll file issue | Yes |
| QuickBooks won’t open after reinstall | Program corruption | Yes |
| Display and template issues | Program files | Yes |
| H202 / H505 multi-user errors | Network config | No, use Database Server Manager |
| 6000 series company file errors | Company file | No, use QuickBooks File Doctor |
| Payroll update errors (15XXX) | Update issue | Partial, try Install Diagnostic Tool first |
The tool removes and rebuilds damaged residual files from previous installations. Anything outside the program layer, network settings, company data, or license activation, it won’t touch.
The process for clean install tool QuickBooks Canada users is functionally the same as the US version. The QuickBooks Clean Install Tool inside Tool Hub works identically across both regions.
The main thing to keep in mind is that you need to download the Canadian edition of QuickBooks Desktop (not the US version) from Intuit Canada’s official product download page when you get to the reinstall step. Using the wrong regional installer can cause activation issues.
Once you’ve gone through the full process with the QuickBooks Clean Install Tool, QuickBooks should be running on a completely fresh set of program files. The errors tied to your old corrupted installation are gone.
Going forward, keeping QuickBooks updated regularly and not skipping maintenance releases is the best way to avoid reaching this point again. The tool is there when you need it, but you shouldn’t need it often if the program is kept current and the system it runs on meets Intuit’s requirements.
Ready to get started? Head over to official site to grab QuickBooks Tool Hub, which includes the QuickBooks Clean Install Tool or dial +1(888)-718-7888 for additional guidance from professionals directly.
The QuickBooks Clean Install Tool only renames program-level installation folders, it does not touch your company file or any of your accounting data. That said, always create a backup before starting, just as a precaution.
It’s not a standalone file. The QuickBooks clean install tool download is accessed through QuickBooks Tool Hub, which you get from Intuit’s official website. Once Tool Hub is installed, the Clean Install Tool is inside the Installation Issues tab.
Yes. You need to uninstall QuickBooks Desktop from Control Panel → Programs and Features before running the QuickBooks Clean Install Tool. The tool renames the leftover folders after uninstall, and then you reinstall fresh.
Yes. The tool runs on Windows 10 (64-bit) and Windows 11. Make sure you’re logged in as a Windows administrator and that your .NET Framework is up to date before running it.
If the issue persists after a clean install, it’s likely not a program file issue, it could be a network configuration problem, a company file issue, or a Windows-level conflict. In those cases, run QuickBooks File Doctor for data issues, or check your Windows firewall and antivirus settings for network-related errors.